



Migrating from standalone to a replica set
MongoDB replication requires at least three servers.
Overview
An example of configuring a MongoDB replica set when Passwork is already installed and in use, but you need to move to a fault-tolerant setup.
The following host names are used as an example:
- First server (PRIMARY) — example.docker.1
- Second server (SECONDARY) — example.docker.2
- Third server (SECONDARY) — example.docker.3
Preparing the primary server
The steps below are performed on the server where Passwork is installed and in use — example.docker.1.
Create a MongoDB database backup using the ./db-backup.sh script:
- shell
cd /<passwork>/
./db-backup.sh
Stop and remove the db service:
- shell
docker compose down db
Clear the previously created MongoDB collections and data:
- shell
rm -rf ./data/mongo/*
Edit and extend the .env file. Insert the following lines and specify your own values:
- shell
# Database user name used at initialization.
MONGO_INITDB_ROOT_USERNAME=username
# Database user password used at initialization.
MONGO_INITDB_ROOT_PASSWORD=password
# DNS name or IP address of the host where the database is installed
MONGO_NODE_NAME="example.docker.1"
# Flags the database is started with
DB_RUN_FLAGS="--replicaSet rs0 --keyFile=/data/keys/keyfile"
Preparing the secondary servers
The steps below are performed on the example.docker.2 and example.docker.3 servers.
Installing Docker
- Download and install Docker. The minimum required version is 18.06.0.
Official article: installing Docker. - Install and enable the Docker Compose plugin if it is not installed.
Official article: installing Docker Compose (Linux).
We recommend using a Docker installation that was not made through snap.
Installing Passwork
Create a directory for the Passwork installation and change into it:
- shell
mkdir /<passwork>/ && cd /<passwork>/
Download the docker compose build archive and extract it:
- shell
curl -SfL https://repos.passwork.pro/repository/passwork-docker/passwork_compose_last.tar.gz | tar xzvf - 2>&1
rm -f passwork_compose_last.tar.gz
Rename the environment variables configuration file:
- shell
mv ./.env.example ./.env
Edit the .env file:
- shell
vim ./.env
- Put the API key from the Customer Portal into the
PORTAL_KEYline:
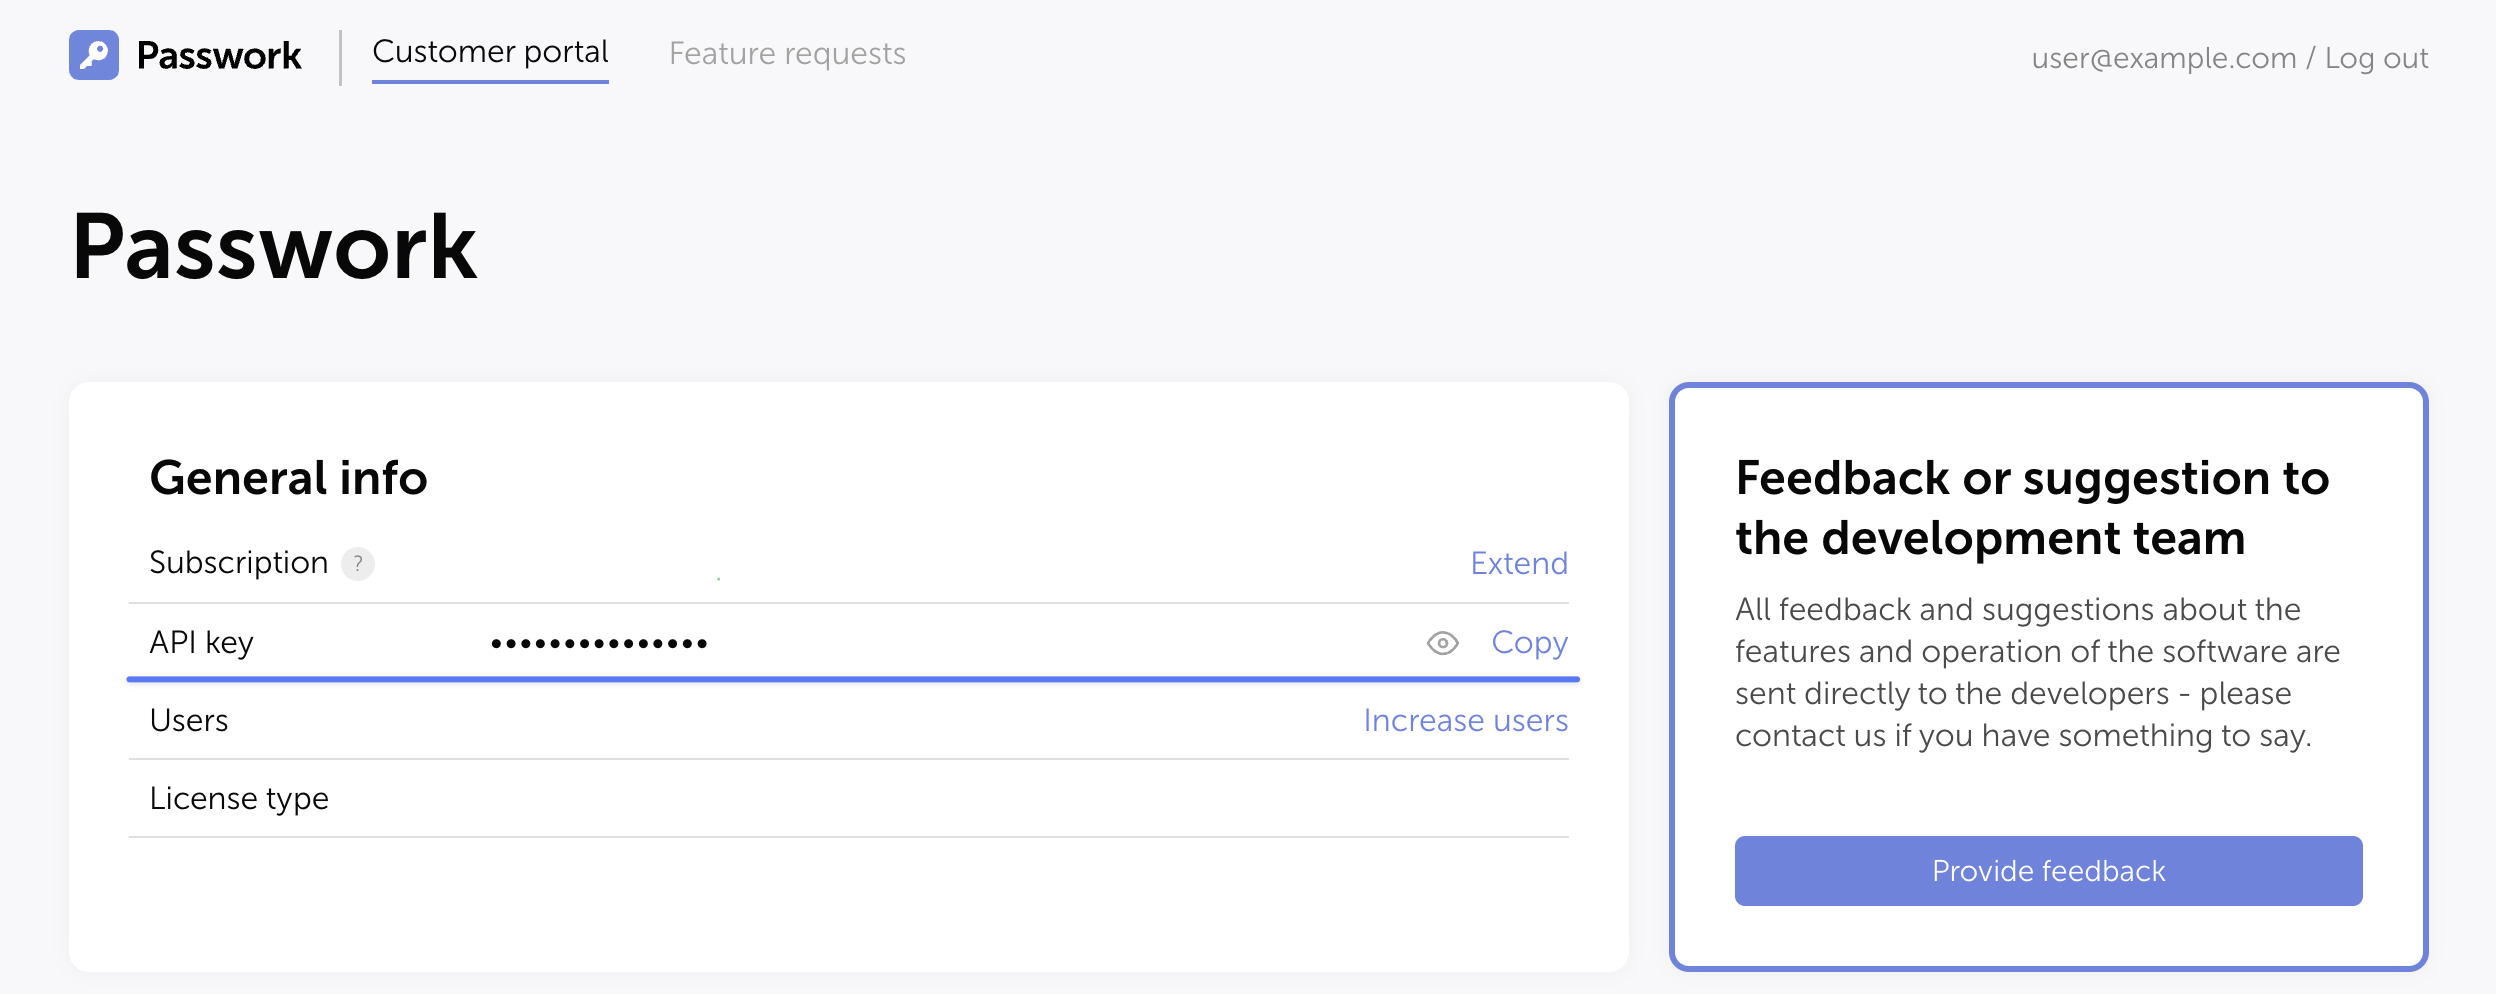
- At the end of the variables file, insert the following lines and specify your own values:
- shell
# Database user name used at initialization.
MONGO_INITDB_ROOT_USERNAME=username
# Database user password used at initialization.
MONGO_INITDB_ROOT_PASSWORD=password
# DNS name or IP address of the host where the database is installed
MONGO_NODE_NAME="example.docker.2(3)"
# Flags the database is started with
DB_RUN_FLAGS="--replicaSet rs0 --keyFile=/data/keys/keyfile"
Run the script that downloads the Passwork code and places it into the Docker build:
- shell
cd /<passwork>/ && ./update.sh
Preparing the environment
The steps below are performed on every server: example.docker.1, example.docker.2, example.docker.3.
Edit the Docker container configuration file /<passwork>/docker-compose.yaml:
- Uncomment the
portsparameter and its value in thedbservice:
ports:
  - 27017:27017
Forwarding the port from the container to the host is required for access and data exchange between the database instances.
Generating and configuring the replica set key
On example.docker.1, generate the key file for the replica set:
- shell
openssl rand -base64 756 > /<passwork>/conf/mongo/keyfile
On the secondary servers, create the mongo directory: mkdir -p /<passwork>/conf/mongo.
The key file is used inside the replica set to authorize the nodes. If the file is not specified or its permissions are broader than 0400, the replica set will not assemble correctly.
Copy the generated key to the secondary servers using scp:
- shell
scp /<passwork>/conf/mongo/keyfile [email protected]:/<passwork>/conf/mongo/
scp /<passwork>/conf/mongo/keyfile [email protected]:/<passwork>/conf/mongo/
Set the permissions for the key file and the directory on every server:
- shell
chown 1001:1001 /<passwork>/conf/mongo/keyfile
chown 1001:1001 /<passwork>/conf/mongo/
chmod 0700 /<passwork>/conf/mongo/
chmod 0400 /<passwork>/conf/mongo/keyfile
Configuring the replica set
Starting the containers
If DNS is not configured on the servers, add the records to /etc/hosts on every node:
- 172.16.X.X example.docker.1
- 172.16.X.X example.docker.2
- 172.16.X.X example.docker.3
Start the Docker containers:
- shell
# Primary server
cd /<passwork>/
docker compose up -d --force-recreate db
# Secondary servers
cd /<passwork>/
docker compose up -d
Connect to the MongoDB shell on example.docker.1:
- shell
docker exec -it passwork_db mongosh -u username -p password
Switch to the admin database:
- shell
use admin
Initialize the replica set named rs0:
- shell
rs.initiate( {
   _id : "rs0",
   members: [
      { _id: 0, host: "example.docker.1:27017" },
      { _id: 1, host: "example.docker.2:27017" },
      { _id: 2, host: "example.docker.3:27017" }
   ]
})
Check the status:
- shell
rs.status()
Restoring the database from a backup
On example.docker.1, change into the installation directory and start the restore:
- shell
cd /<passwork>/
./db-restore.sh
Edit the /<passwork>/conf/keys/config.env configuration file and specify the parameters of the configured replica set:
- shell
MONGODB_URL=mongodb://example.docker.1:27017,example.docker.2:27017,example.docker.3:27017/?replicaSet=rs0
MONGODB_DB=pw
MONGODB_USERNAME=username
MONGODB_PASSWORD=password
Connect to the Passwork web interface on example.docker.1 and verify that the MongoDB replica set is working.
Configuring the secondary server connections
These steps are performed on the secondary servers.
Copy the generated configuration file config.env and the encryption_key from example.docker.1 to the secondary servers:
- shell
scp /<passwork>/conf/keys/config.env [email protected]:/<passwork>/conf/keys/
scp /<passwork>/conf/keys/config.env [email protected]:/<passwork>/conf/keys/
scp /<passwork>/conf/keys/encryption_key [email protected]:/<passwork>/conf/keys/
scp /<passwork>/conf/keys/encryption_key [email protected]:/<passwork>/conf/keys/
On all three nodes, edit the APP_URL parameter in the configuration and specify the DNS name or IP address of the server.